Complete Guide to Rust Removal Process

Rust, the relentless nemesis of all things metal, has a knack for appearing just when you least expect it. Why is rust removal so crucial? Beyond the obvious cosmetic implications, rust can compromise the structural integrity of metal surfaces, leading to safety hazards and costly replacements. By mastering the art of rust removal, you're not only prolonging the life of your possessions but also enhancing their resale value and maintaining a polished and professional image, whether it's in your garage, workshop, or business establishment.
Keep reading, as we'll dive into the nitty-gritty details of each step in the rust removal process.
Why do you need Rust Removal?
Rust removal is necessary for several reasons:
- Prevent Further Damage: Rust is a form of corrosion that weakens and deteriorates metal surfaces over time. If left unchecked, rust can compromise the structural integrity of the metal, making it less reliable and safe for its intended use.
- Aesthetic Improvement: Rust can be unsightly, tarnishing the appearance of metal surfaces. Removing rust and restoring the original finish can improve the overall aesthetic appeal of objects and surfaces.
- Functionality: Rust can interfere with the proper functioning of mechanical parts and equipment. Removing rust ensures that gears, hinges, locks, and other moving parts can operate smoothly without friction caused by rust buildup.
- Safety: In cases where rust affects structural components, such as bridges, railings, and support structures, the integrity of the metal can be compromised, leading to potential safety hazards.
- Corrosion Prevention: By removing rust and applying protective coatings, you create a barrier between the metal surface and the surrounding environment. This helps prevent further corrosion and extends the lifespan of the metal.
- Maintenance: Regular rust removal and prevention are part of proper maintenance practices. It can save you money by avoiding more extensive repairs or replacements in the future.
- Resale Value: For items like vehicles or machinery, rust can significantly decrease their resale value. Removing rust and maintaining a well-kept appearance can help retain or even enhance the item's value.
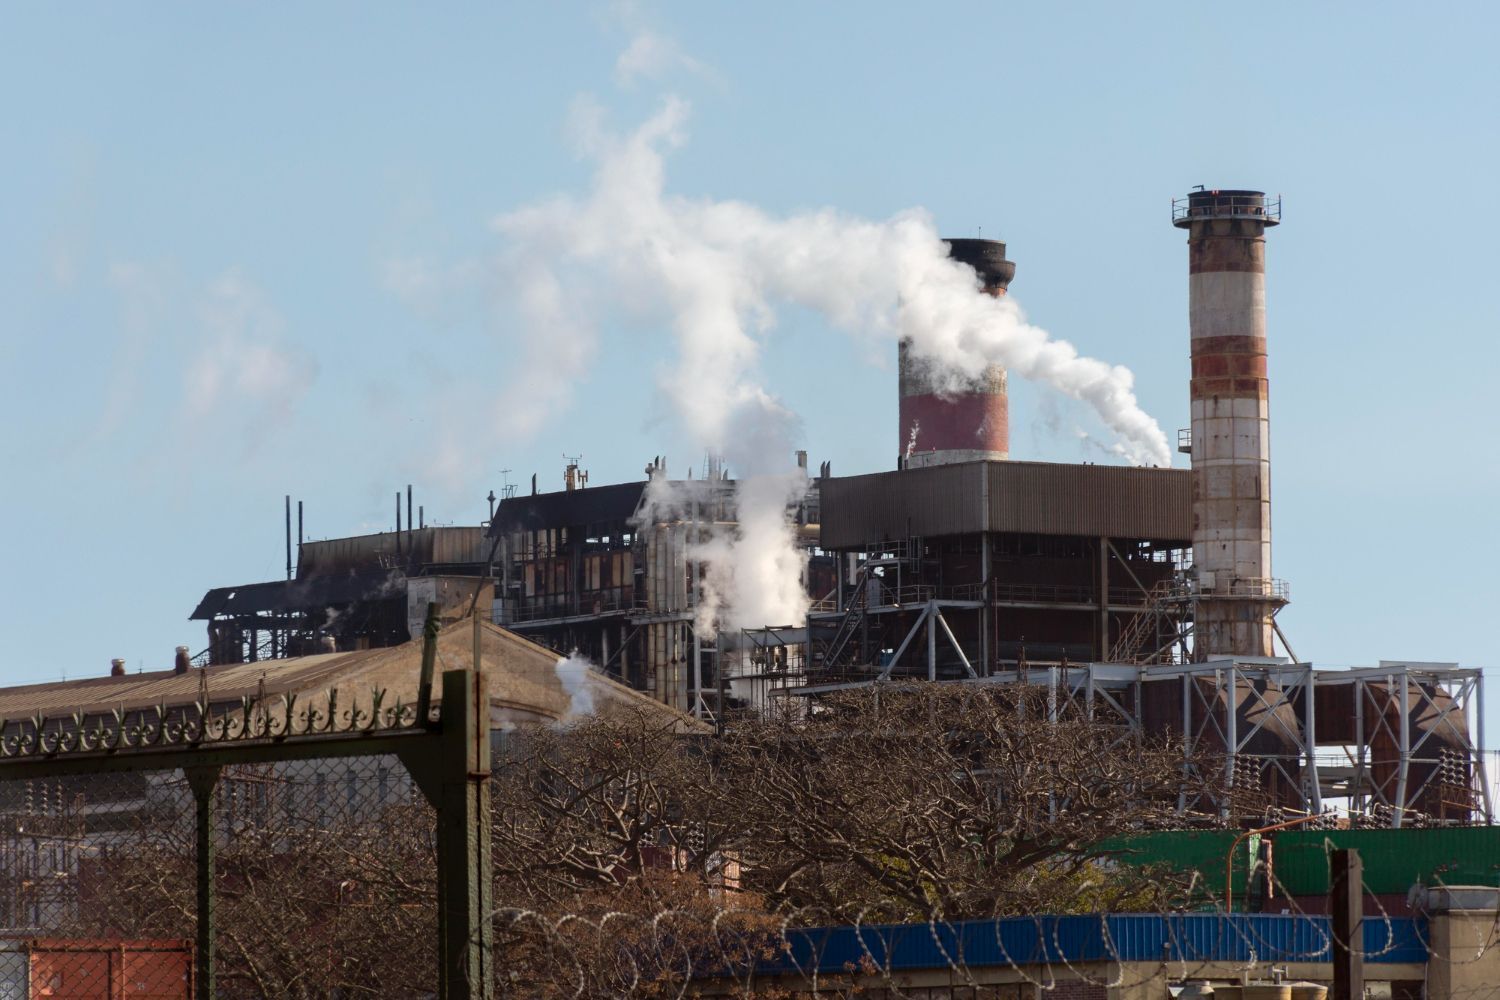
- Environmental Considerations: Rust can shed particles that might be harmful to the environment, especially in the case of larger structures like ships or industrial equipment. Proper rust removal and containment prevent these particles from spreading.
- Professional Image: For businesses, equipment and machinery with rust can reflect poorly on the company's professionalism and attention to maintenance. Regular rust removal can help maintain a positive image.
- Longevity: Whether it's tools, vehicles, appliances, or infrastructure, proper rust removal and prevention can significantly extend the lifespan of metal objects and surfaces.
Guide to Rust Removal Process
The process of removing rust from surfaces involves several steps to effectively clean and prevent further rusting. Rust is formed when iron or steel reacts with oxygen and moisture, so the goal is to remove the rust and create a barrier to prevent future corrosion.
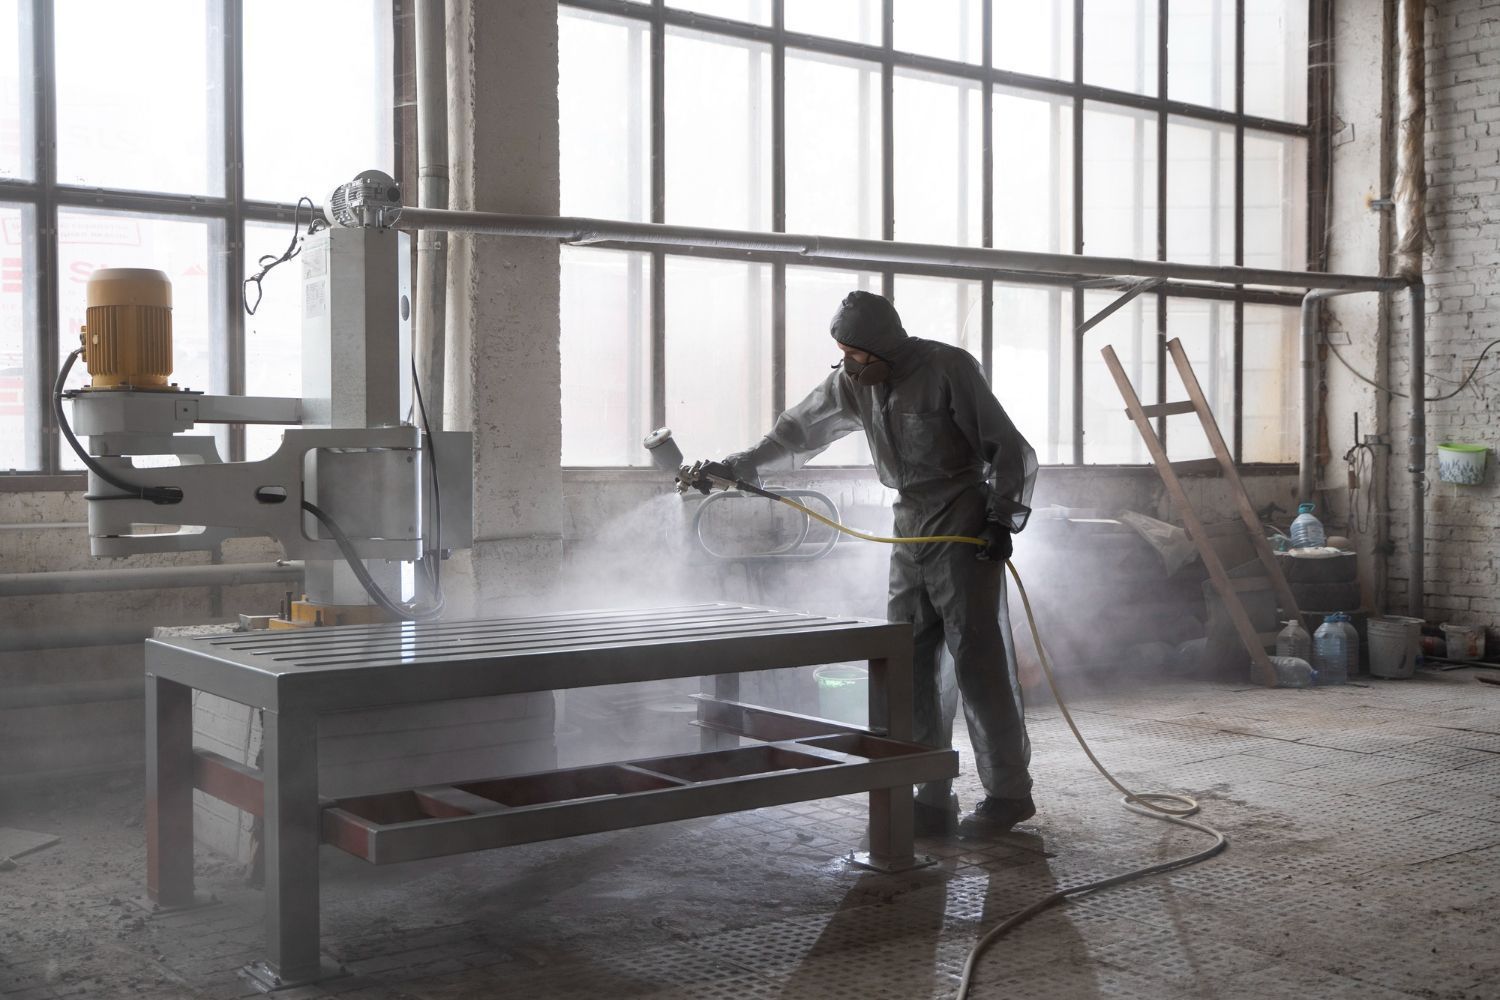
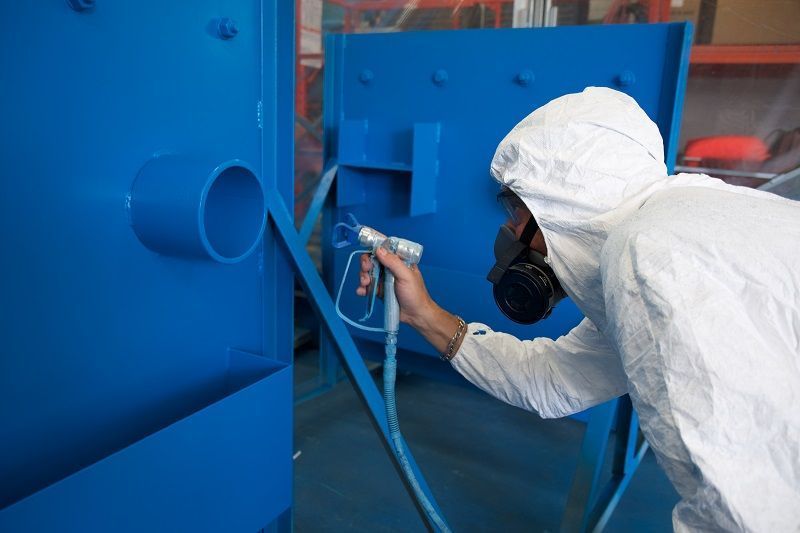
1. Safety Precautions
- Wear appropriate personal protective equipment (PPE), including gloves, eye protection, and a mask, especially if using chemical products.
- Work in a well-ventilated area to prevent inhalation of fumes or vapors.
2. Gather Materials
- Wire brush, steel wool, or abrasive pads
- Rust converter or rust remover solution
- Sandpaper (various grits: coarse to fine)
- Drop cloths or newspapers to protect surrounding areas
- Painter's tape (if needed)
- Rust-inhibiting primer
- Rust-resistant paint or protective coating
- Clean cloth or rags
- Water source for rinsing (if using chemical rust removers)
3. Surface Preparation
Clean the rusty surface using a wire brush, steel wool, or abrasive pads to remove loose rust, dirt, and debris. This provides a clean surface for subsequent steps.
4. Rust Converter or Remover
- If using a rust converter, apply it according to the manufacturer's instructions. It typically involves brushing or spraying the converter onto the rusted area.
- If using a rust remover, follow the product's instructions for application. Some rust removers require rinsing with water after application.
5. Rinsing and Drying
- If you've used a rust remover, thoroughly rinse the treated area with water to remove any residue.
- Dry the surface completely using a clean cloth or allow it to air dry.
6. Sanding
Use sandpaper with progressively finer grits (e.g., start with 80 or 120 grit and move to 220 or higher) to smooth out the surface and remove any remaining rust particles or rough spots. Sanding also helps promote paint adhesion.
7. Surface Protection
Apply a rust-inhibiting primer to the prepared surface. Primers come in spray or liquid form. Apply thin, even coats, following the manufacturer's instructions for drying time between coats.
8. Painting or Coating
Once the primer is dry, apply a rust-resistant paint or protective coating. Choose a paint designed for metal surfaces and rust prevention. Apply multiple thin coats, allowing each coat to dry before applying the next. Follow the manufacturer's guidelines for drying times.
9. Finishing Touches
- If desired, apply a clear protective coat over the paint for added durability and protection.
- Remove any painter's tape if used, once the paint is dry to the touch but not fully cured.
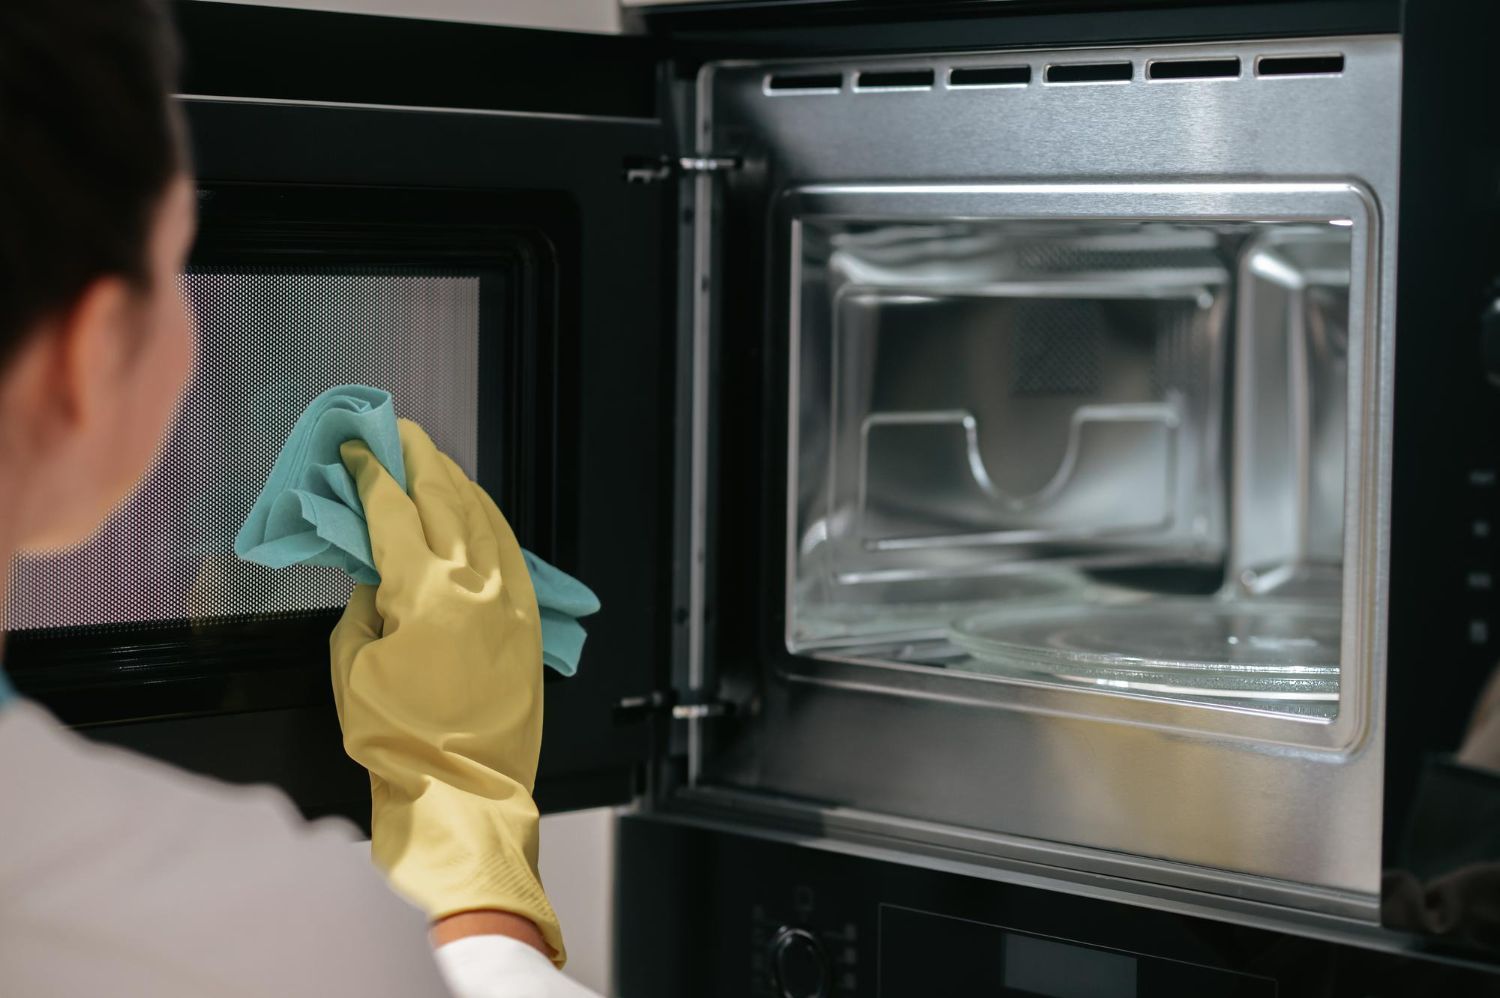
10. Maintenance
Regularly inspect the painted surface for signs of rust or damage. Address any chips or scratches in the paint promptly by touching up the affected areas to prevent rust from spreading.
Call for Professional Help
Consider seeking professional advice for particularly challenging rust removal situations. Call Dean Baughman Industrial Services for your industrial maintenance needs.